Subscribe To News

Blog - Latest

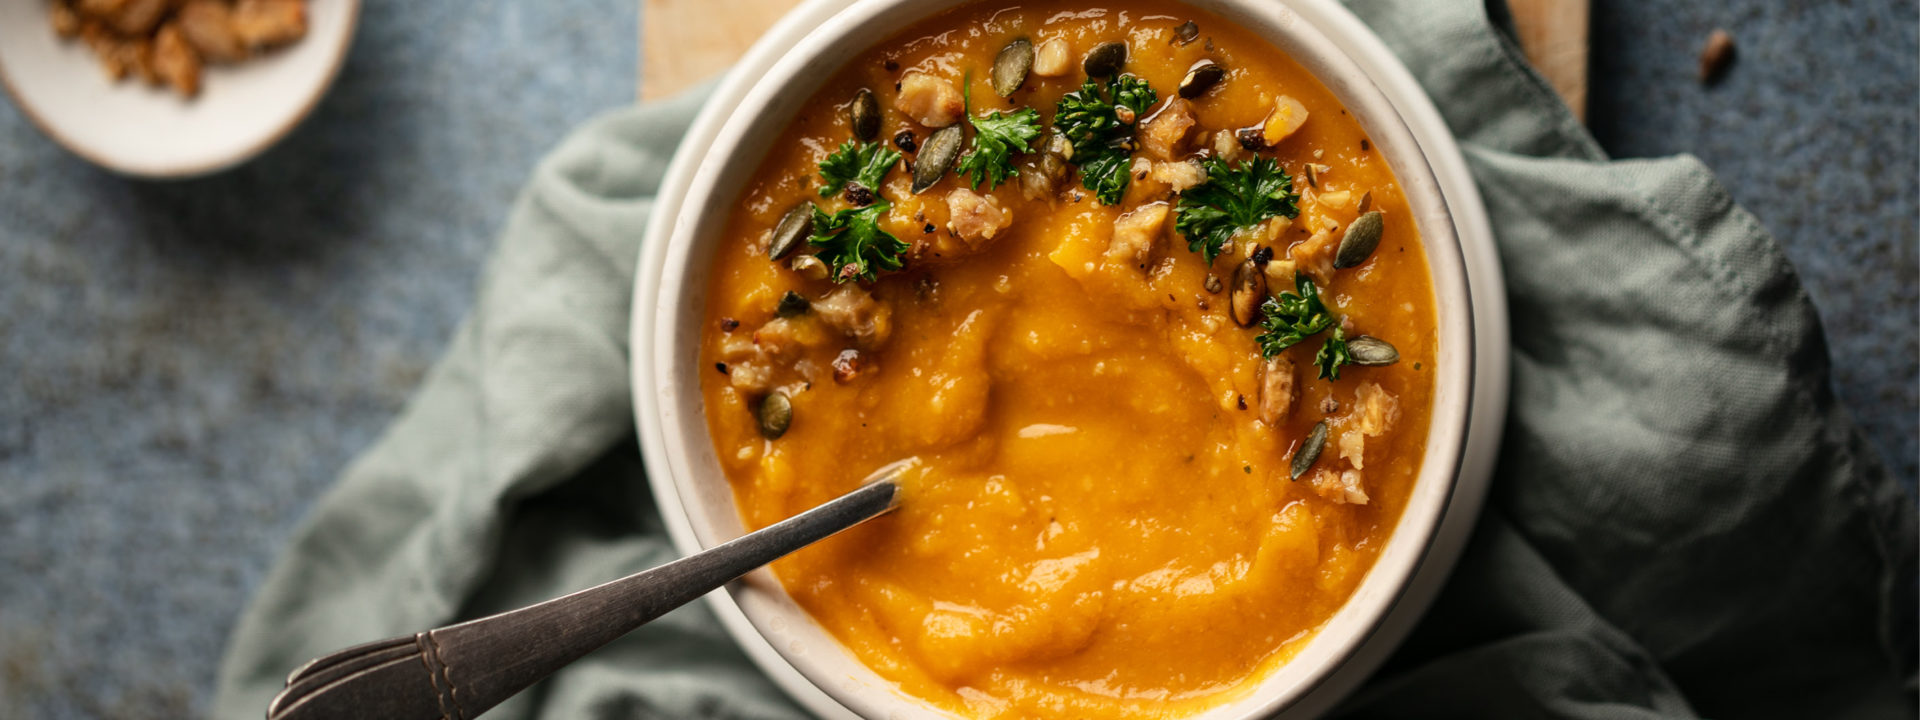
Overhead shot of bowl filled with chestnut and squash soup with pieces of parsley on top and spoon in bowl. Bowl placed on a wooden charcuterie board with a grey linen napkin and bowl of chestnuts beside
Recipes

Chestnut and Winter Squash Soup

There’s a chill in the air, which means we’re all searching for ways to cuddle up and stay warm. Sure, a blanket and cozy pair of slippers will keep your body warm, but we’re talking about ways to warm your soul. Cool weather instantly makes us think of comfort food that feels like a hug when you eat it. We often overlook the fall harvest vegetables that are absolutely up for this task. A warm harvest soup, a hearty stew, or even a vegetarian chili can make the weather outside a little less frightful.

This recipe for Chestnut and Squash Soup is sure to give you a double-whammy of warmth, with plenty of seasonal spices and vegetables, and a bit of our favourite year-round spice…cannabis. Give this recipe a shot and let us know how it turned out!


What You’ll Need

(4-6 servings)

  • 1 (2-lb) winter squash cut in half, seeds and pulp scraped out with a spoon
  • 3 tablespoons of infused olive oil plus additional for garnish
  • 1 large shallot, thinly sliced
  • 3 cloves garlic, thinly sliced
  • Guajillo chiles, stemmed, seeded, and cut into ¼ inch slices (or substitute 2 ancho chiles, stemmed, seeded, and cut into ¼ inch slices)
  • A pinch of ground cumin
  • A pinch of Mexican (or regular) cinnamon
  • A pinch of ground clove
  • ½ cup dry sherry or white wine
  • 8 ounces peeled roasted chestnuts
  • 1 quart chicken or vegetable stock
  • Kosher salt and ground white pepper, to taste
  • ½ cup crème fraîche, plus more, for garnish (optional)
  • ½ cup toasted pumpkin seeds, for garnish
  • 1 teaspoon picked thyme leaves, for garnish


Directions

  1. Preheat the oven to 425º.
  2. Place the squash, cut side up, onto a parchment paper-lined baking sheet. Drizzle with olive oil and season with salt.
  3. Roast the squash until it is completely tender and beginning to brown, 30-45 minutes.
  4. Remove from the oven.
  5. Once the squash is cool enough to handle, use a spoon to scrape out all the flesh, discarding the outer rind, and set aside.
  6. Heat the olive oil in a medium pot over medium heat until simmering.
  7. Add the garlic, shallot, and chili.
  8. Cook, stirring constantly, until the shallot and garlic have softened and are beginning to turn golden, 3-5 minutes.
  9. Stir in the cumin, cinnamon, and clove, followed immediately by the sherry.
  10. Once the mixture boils, add the stock, chestnuts, reserved squash, and ½ cup crème fraîche.
  11. Return mixture to a boil, reduce heat to a simmer, and cook for 1 minute.
  12. Remove the soup from the heat and blend until completely smooth.
  13. Season to taste with salt and white pepper.
  14. To serve, divide the soup between warmed bowls, and garnish each with a dollop of crème fraîche, and a drizzle of olive oil and then divide the thyme and pumpkin seeds between them.
  15. Enjoy!


This soup will be so delicious you’ll want to share it with everyone, but that doesn’t mean you should. Always keep cannabis-infused food out of the reach of children, and clearly mark any leftovers to avoid taking the wrong container to work.

Remember: the strength of your soup will depend on the strain you use to make the infused oil, as well as how many servings you divvy this into. Always start low and go slow when it comes to edibles!


2021, In the News

Some of Canada’s favourite cannabis brands are American | LEAFLY


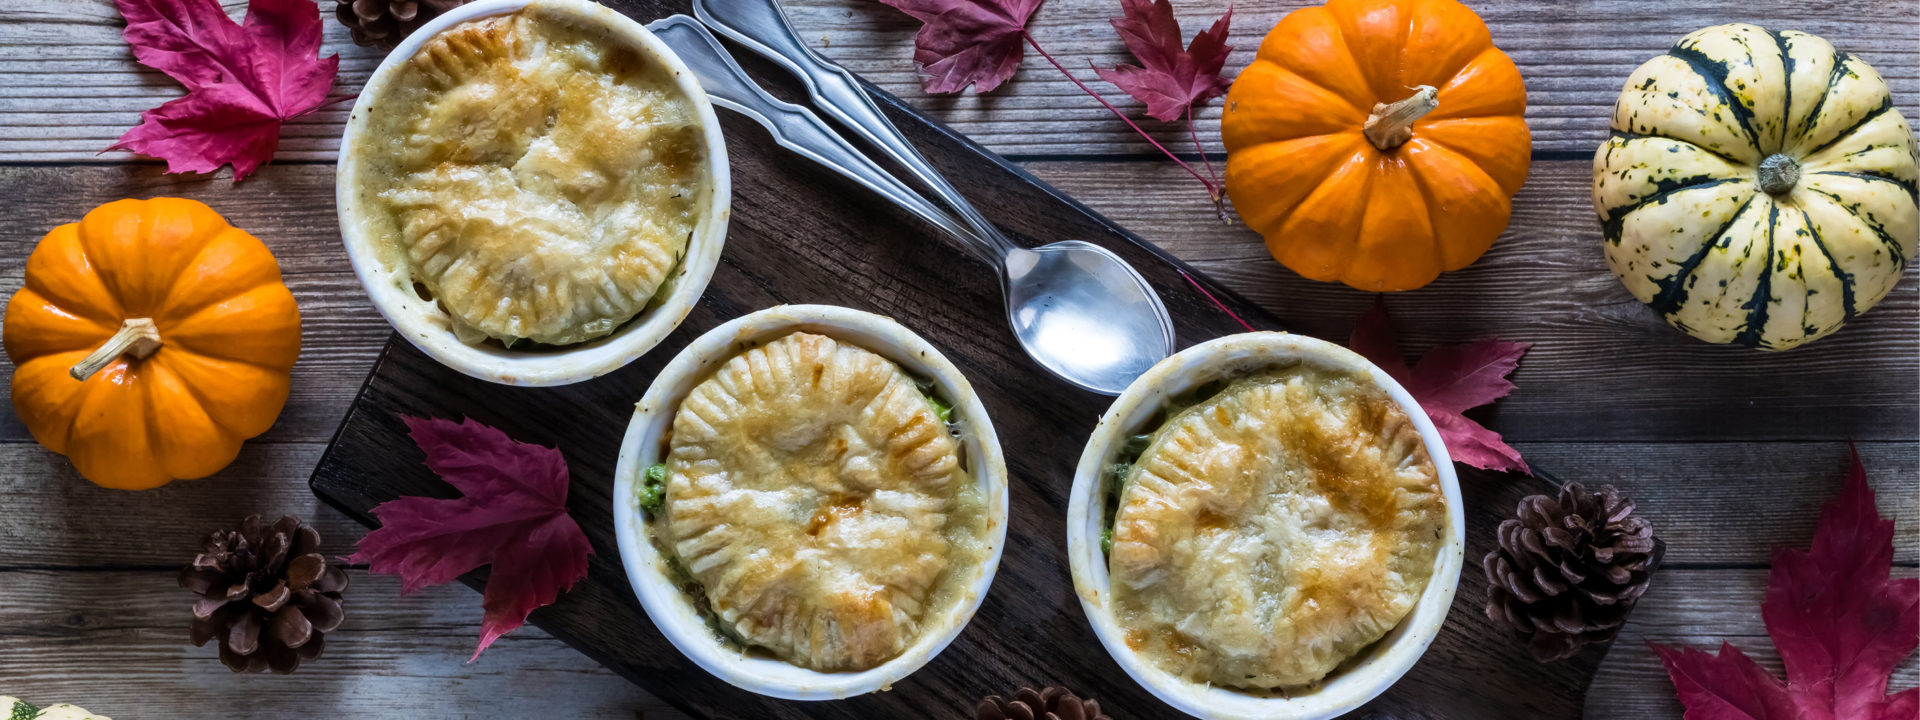
Three small turkey pot pies on a wooden plant serving board, seen from above with two spoons, pinecones, pumpkins and leaves around them
Recipes

Turkey POT Pie

Leftovers You’ll Love with Turkey POT Pie

Everyone has experienced the post-Thanksgiving food hangover, where you’ve eaten enough turkey and potatoes to feed a small army and you basically never want to see it again. Trust us, we get it.

The thing is, Thanksgiving leftovers don’t have to incite meat sweats and potato panic. In fact, they can induce feelings of love, enjoyment, and maybe even a little excitement. How, you may ask? Through the power of turkey POT pie. Yes, we took everyone’s favourite savoury pastry dish and turned it into a clever way to use up leftovers and an infused meal.

The turkey POT pie serves six people, which means you could have a Friends-giving meal later in the week, or you could serve this at a fancier cannabis dinner party. Once you have the savoury crust mastered, you can experiment with different fillings in the pie. But for now, let’s get to the leftover-saving turkey pot pie.


Ingredients for the crust:

• 1 1/4 cup all-purpose flour
• 1 tsp sugar
• 1/2 tsp sea salt
• 1/4 cup cold, unsalted butter, cut into 1/2-inch pieces
• 1/4 cup cold, canna-butter cut into 1/2-inch pieces
• 4 Tbsp ice water


Ingredients for the filling:

• 1 lb leftover Thanksgiving turkey, shredded
• 2 cups frozen peas and carrots
• 1 cup frozen corn
• 2/3 cups chopped onions
• 1 Tbsp chopped rosemary, fresh
• 1 1/2 cups milk
• 1/2 cup chicken broth
• 1/4 cup all-purpose flour
• 1 tsp salt
• 1 tsp ground black pepper
• 3 Tbsp butter
• 1 egg, beaten with a splash of water


Directions:

  1. Make the crust: In a food processor, pulse together flour, sugar, and salt. Add both regular and canna-butter pieces and pulse until mixture resembles coarse meal, with a few pea-size pieces of butter remaining. Sprinkle with 4 tablespoons of ice water. Pulse until dough is crumbly but holds together when squeezed.
  2. Form dough into a disk, wrap tightly in plastic, and refrigerate until firm, at least 1 hour.
  3. Preheat an oven to 425ºF.
  4. Melt the butter in a saucepan over medium heat, and cook the onion until translucent, about 5 minutes.
  5. Toss in shredded turkey and cook for another minute.
  6. Place the frozen peas and carrots and corn in and cover with milk, bring to a boil, and simmer over medium-low heat for about 8 minutes.
  7. Stir in 1/4 cup of flour, salt, black pepper and chopped rosemary. Slowly stir in the chicken broth until the mixture comes to a simmer and thickens.
  8. Remove from heat and pour into baking pan.
  9. Roll out the chilled pie crust and drape over the top. Cut some slits on top with a sharp knife to help release the steam.
  10. Brush with egg mixture and bake for 30 minutes until the filling is bubbly.
  11. Cool for 10 minutes before serving.


Makes: 6 servings

This pie is going to smell delicious, and likely taste even better, but remember to keep it out of the reach of children—this includes leftovers! Always ensure cannabis-infused food is clearly marked, especially if you live in a shared household.


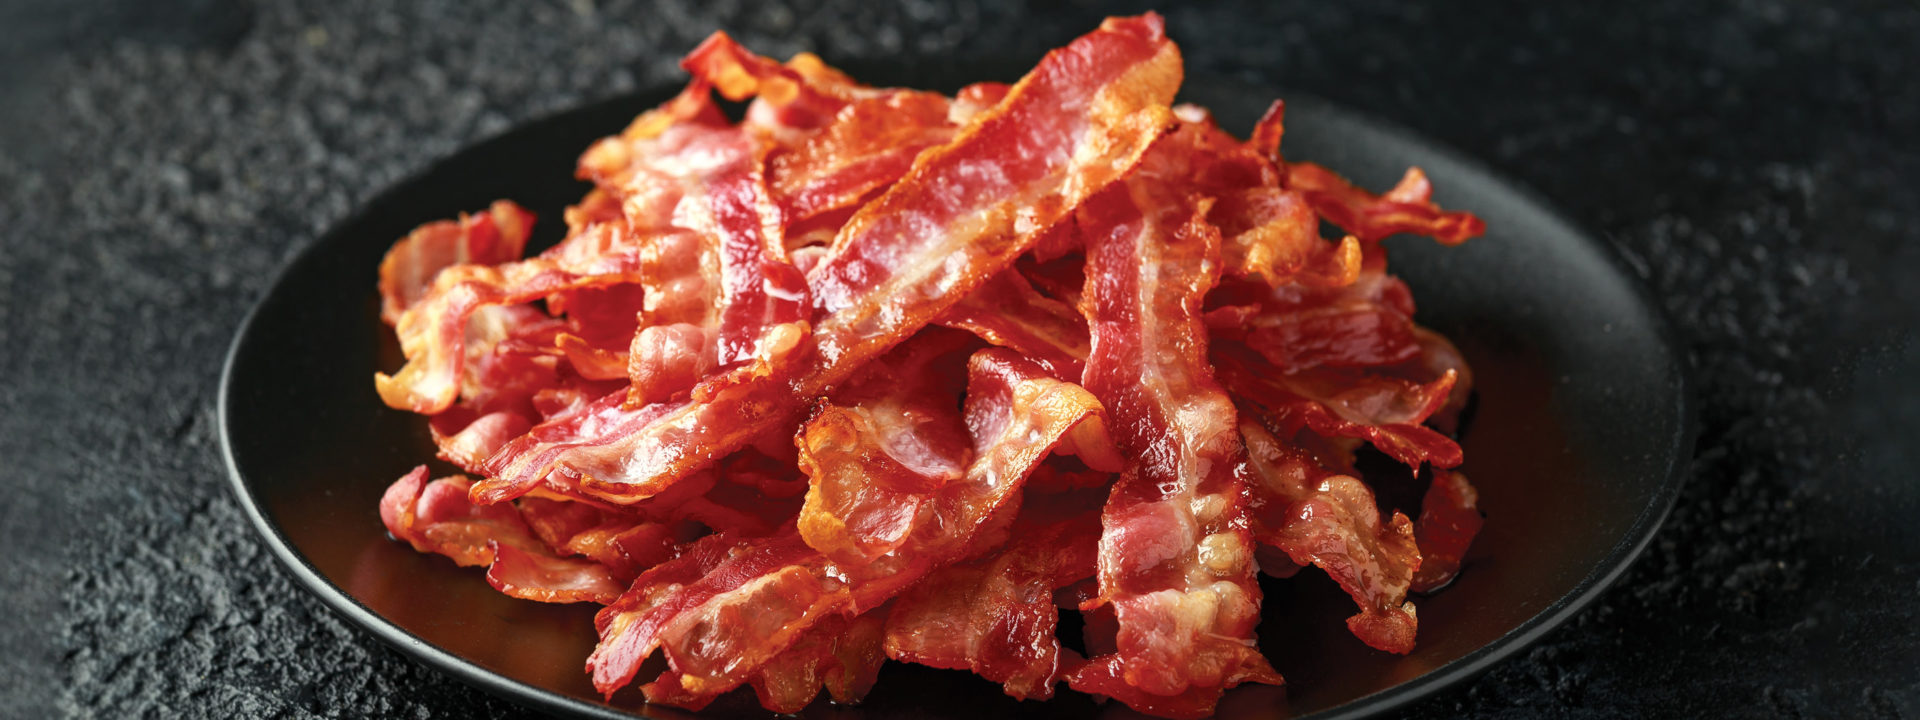
Stack of cooked bacon on a black plate on a black concrete countertop
Recipes

Cannabis Infused Bacon

Starting your day with bacon is a luxury. The smell is mouthwatering, the sound is music to your ears, and the taste? Well, the taste is unmatched. It’s arguably the perfect way to start your day, or even end it if you’re opting for the breakfast-for-dinner route.

The possibilities don’t end there, though. Bacon can make everything better—yes even desserts. Add cannabis to the mix and you’ve got a one-two punch of wonderful. Cannabis-infused bacon is about to become your next favourite breakfast (and lunch and dinner) food, and the best part is you can use the leftover infused bacon grease to scramble eggs, stir fry some dinner, or use in a soup base.

So grab your favourite cannabis strain and some bacon strips, and get ready for the ultimate breakfast in bed.


What you’ll need:

  • Whole flower cannabis (your favourite strain)
  • A cannabis grinder
  • Bacon strips
  • A cookie sheet


Directions:

  1. Preheat the oven to 225oF
  2. Grind your cannabis into a fine powder—it should resemble dried oregano or basil.
  3. Spread the cannabis powder onto an ungreased cookie sheet and bake for 45 minutes. This will begin the decarboxylation process which is what activates the active. compounds in cannabis.
  4. Lay the bacon strips onto a different, ungreased cookie sheet. You can put down parchment paper to help avoid some of the mess.
  5. When the cannabis is done baking, take it out of the oven and set the temperature to 275oF.
  6. Evenly distribute half the baked ground cannabis by sprinkling it over one side of the bacon strips.
  7. Put the cannabis-coated bacon back in the oven for 10 minutes.
  8. Remove the tray from the oven, flip the bacon strips, and sprinkle the remainder of the ground cannabis on the other side.
  9. Bake for an additional 10 minutes.


Take the remaining bacon grease and pour it into a container to solidify, then use it as the fat in your next recipe! In terms of THC and CBD content, that will all depend on the strain you use, and how much of it you add to the bacon, so as with any cannabis recipe, make sure you start low and go slow.

Enjoy!


Remember: with any cannabis product it’s always best to start low and go slow. Refer to Health Canada’s guidelines on cannabis consumption for more information.

As with any cannabis product, never share with anyone under the age of 19, and keep cannabis out of reach of minors at all times.


Stack fluffy red pancakes with strawberries, mint and whipped cream on top, on a white plate with a silver fork beside
Recipes

Cannabis Infused Red Velvet Pancakes

Breakfast for dinner is a classic in most households. Generally it’s eggs of some kind, but there are some meals so delicious, so tempting, that even eating them for breakfast feels sinful. Add cannabis to that mix and you’ve got one of the best breakfasts, breakfast-for-dinners, desserts, or midnight snacks on the planet.

Case-in-point: cannabis-infused red velvet pancakes. These delectable circles of heaven taste like red velvet cake covered in powdered sugar and syrup. It’s the kind of food that makes you  trick yourself into thinking is actually breakfast food and not just literal cake.

The history of red velvet cake is a lengthy and storied trip down a culinary rabbit-hole. Fun fact: did you know that traditional red velvet cake is actually just chocolate cake? Cocoa powder would break down flour, resulting in a soft, velvety cake—and a chemical reaction that caused a red colour. As with anything from history though, the true origins of red velvet cake are still disputed. More information on that can be found here.

For those of us who want to skip this history and get right to cooking, here’s our recipe for cannabis-infused red velvet pancakes.


What You’ll Need:

  • ½ cup infused butter, melted and divided in half
  • 1 ½ cups buttermilk
  • 1 egg
  • 1 cup all-purpose flour
  • ⅓ cup organic cane sugar
  • 3 tablespoons unsweetened cocoa powder
  • 1 teaspoon red food colouring
  • ½ teaspoon baking soda
  • ½ teaspoon salt
  • 3 tablespoons powdered sugar


Directions:

  1. Combine the milk, egg, and infused butter in a bowl and whisk thoroughly
  2. In a separate bowl, combine flour, cocoa powder, sugar, baking soda, and salt – mix them together well
  3. Add the milk mixture, whisking together all the ingredients until it has a lumpy consistency
  4. Heat a frying pan or skillet on medium heat for 60 – 90 seconds
  5. Coat the pan with butter (or some infused butter if you want a little extra!)
  6. Pour ¼ of batter for each pancake onto the frying pan
  7. Cook pancakes for 2 minutes or until edges set and the top is bubbly
  8. Carefully flip each pancake and cook for another 1 – 2 minutes
  9. Repeat with the rest of the batter
  10. Dust the pancakes with powdered sugar, syrup and other favourite toppings such as fresh fruit, whipped cream, or chocolate syrup
  11. Enjoy!


Remember, even though these pancakes will look normal they are far from it. Make sure they’re kept out of reach of children and pets, and clearly marked if you’re saving any leftovers. It’s also important to start low and go slow when consuming cannabis, as it can affect everyone differently.

Bon appétit!


How to Roll the Perfect Joint
Indiva Guides

How to Roll the Perfect Joint

Indiva’s Guide to Rolling the Perfect Joint

It seems like every day there’s a new cannabis format or product introduced. Obviously this isn’t a bad thing—different people prefer different things—but there’s something to be said about smoking a hand-rolled joint! It’s arguably the most popular way to consume cannabis, possibly because the effects can be felt in seconds.

Synonymous with cannabis culture, the joint represents more than just rolled paper with weed in it—it’s an icon of the cannabis movement itself. So if smoking cannabis is your preferred way of consumption, knowing how to roll the perfect joint should be of interest to you.

Below you’ll find a step-by-step guide on how to roll a joint for beginners. Don’t forget, practice makes perfect! If you don’t get it on the first shot, it just means you need to try again (and again).


What you’ll need:

  • ½ gram of your favourite cannabis strain (at least)
  • Standard sized rolling papers
  • Crutch, also known as a joint filter
  • Cannabis grinder
  • A pen-shaped object to help pack the joint


Directions:


1. Nothing like freshly ground

Place your cannabis in a grinder and twist until it is sufficiently ground into “shake”. It’s best to use a grinder to prevent your hands from getting sticky. Kind of hard to roll a joint when your hands get stuck to the paper!


2. Grab your crutch

There are many ready-made filters on the market but you can create your own as well. Using a piece of thin cardboard, start the filter with an accordion fold then roll it into the appropriate thickness depending on your papers. The crutch helps the shake from falling into your mouth while you smoke, so although it’s not absolutely necessary, it’s definitely something you’ll want to include.


3. Have your fill

Pick up the rolling paper and hold it on one end, creating a curve in the centre of the paper. Place the crutch on one end and fill the paper with a line of cannabis from the crutch to the other end of the paper. It should be a straight line of cannabis.


4. Pack and forth

Pinch the paper between your fingertips and roll it back and forth to pack the cannabis down, creating the joint’s final cone shape. This is usually the hardest part, so patience is key!


5. Sealed with a kiss

A joint that falls apart is not ideal, so be sure to take extra care in this step! Take the unglued side of the paper and tuck it into the roll. Use the glued edge to tack down the end of the joint that has the crutch. This will help shape the rest of the joint. Use a bit of moisture to tack down the paper, which can be achieved with a lick! Once that end is sealed, work your way down the joint to seal the rest.


6. Do the twist

Pack the end of the joint to a nice round shape so it burns evenly. This is where you can use the pen or a different tool to make sure the joint is as packed as possible! Then, close the joint with a twist to keep everything inside.


7. Enjoy!

Do we really need to explain this one?